

Replacing a window can be a daunting task, especially when it involves removing the siding. However, there is a way to replace a window without removing the siding, which can save time and money. This article will discuss the steps involved in replacing a window without removing the siding.
The first step in replacing a window without removing the siding is to measure the existing window. This will ensure that the new window fits perfectly into the current opening. Once the measurements are taken, the next step is to remove the old window. This involves removing the window sash and any hardware holding it in place. It is essential to be careful during this step to avoid damaging the surrounding siding.
Understanding Window Replacement
Replacing a window can be daunting, especially if this is your first time doing it. However, it can be a relatively straightforward process with the right tools and knowledge. This section will discuss the basics of window replacement without removing the siding.
Before beginning the replacement process, it is essential to measure the size of the existing window and purchase a replacement window of the same size. It is also important to ensure that the replacement window is the same type as the existing one, such as a double-hung or casement window.
Types of Windows
Replacing a window without removing the siding is a great way to save time and money. Before beginning the replacement process, knowing the different types of windows available on the market is important. Here are some of the most common types:
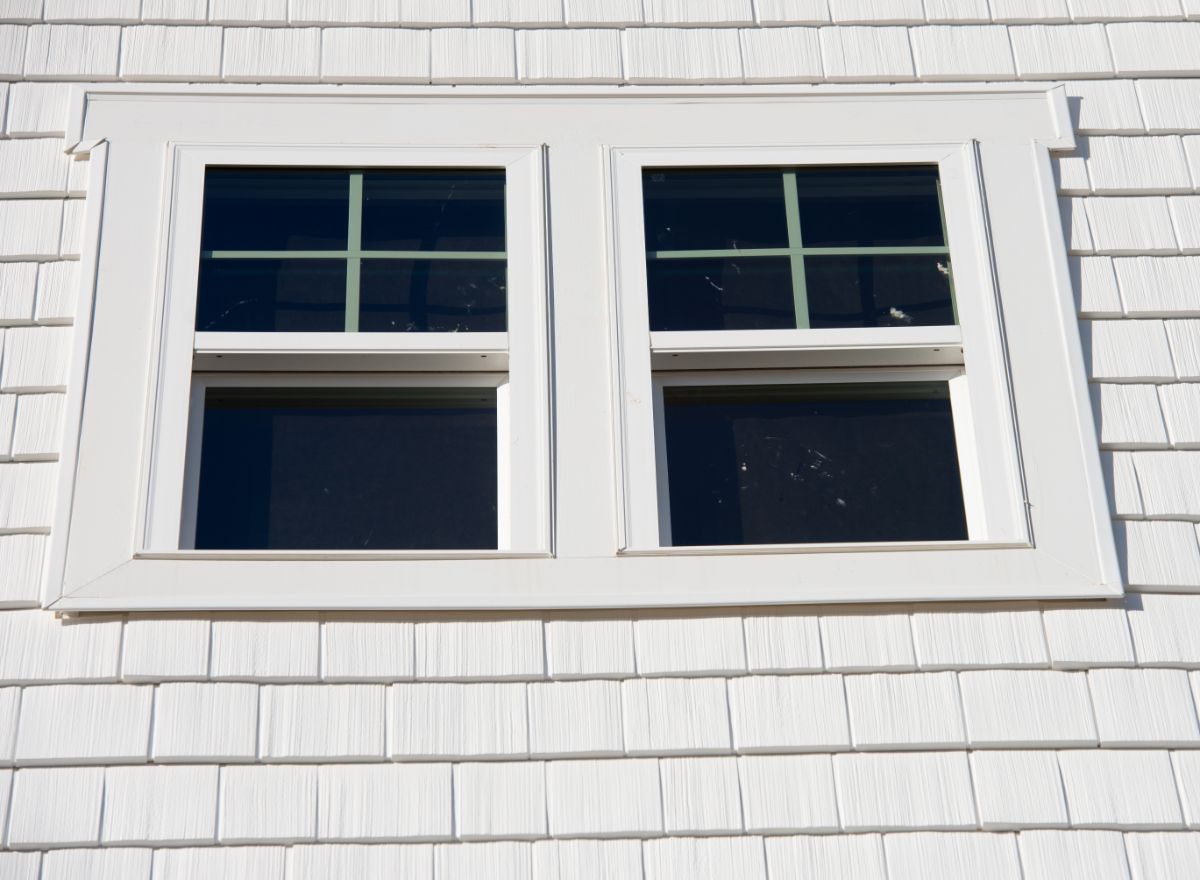
- Single-hung windows: These windows have a fixed top sash and a movable bottom sash. They are easy to operate and require minimal maintenance.
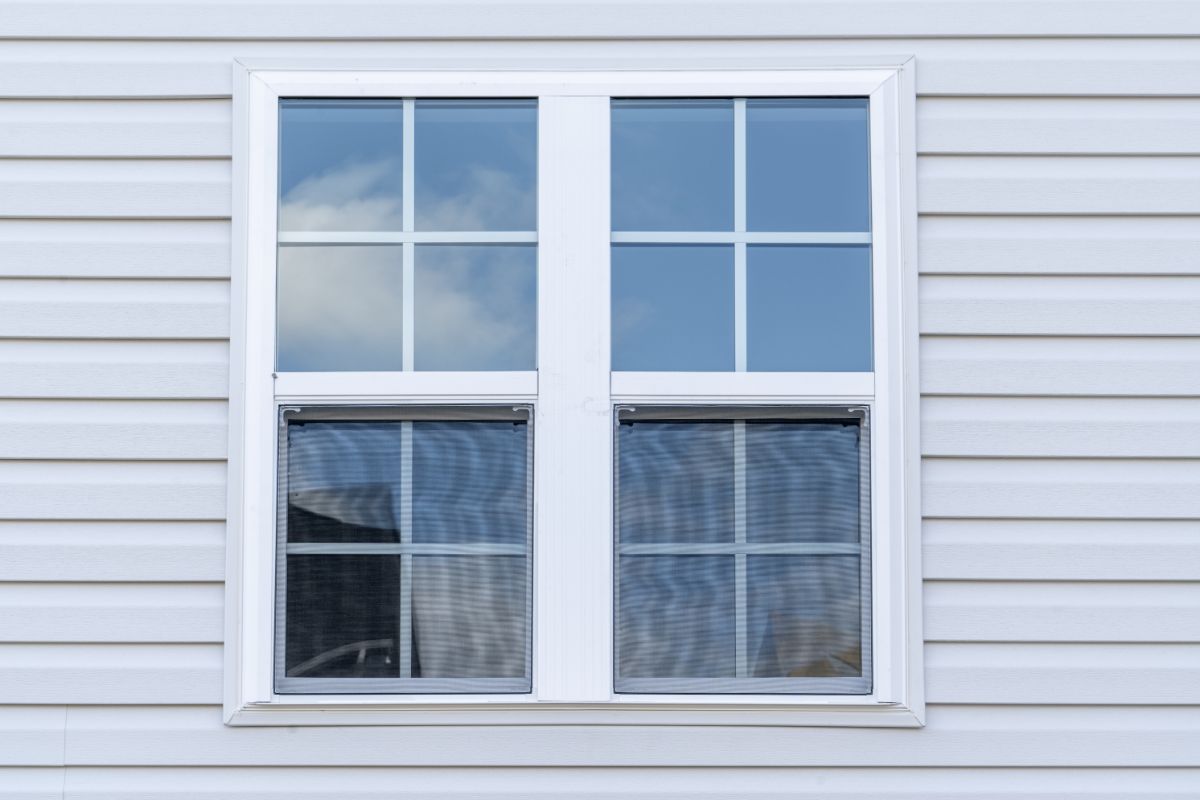
- Double-hung windows: Similar to single-hung windows, they have both a movable top and bottom sash, making them easier to clean and providing better ventilation.
- Casement windows: These windows are hinged on one side and swing out like a door. They are great for ventilation and provide an unobstructed view.
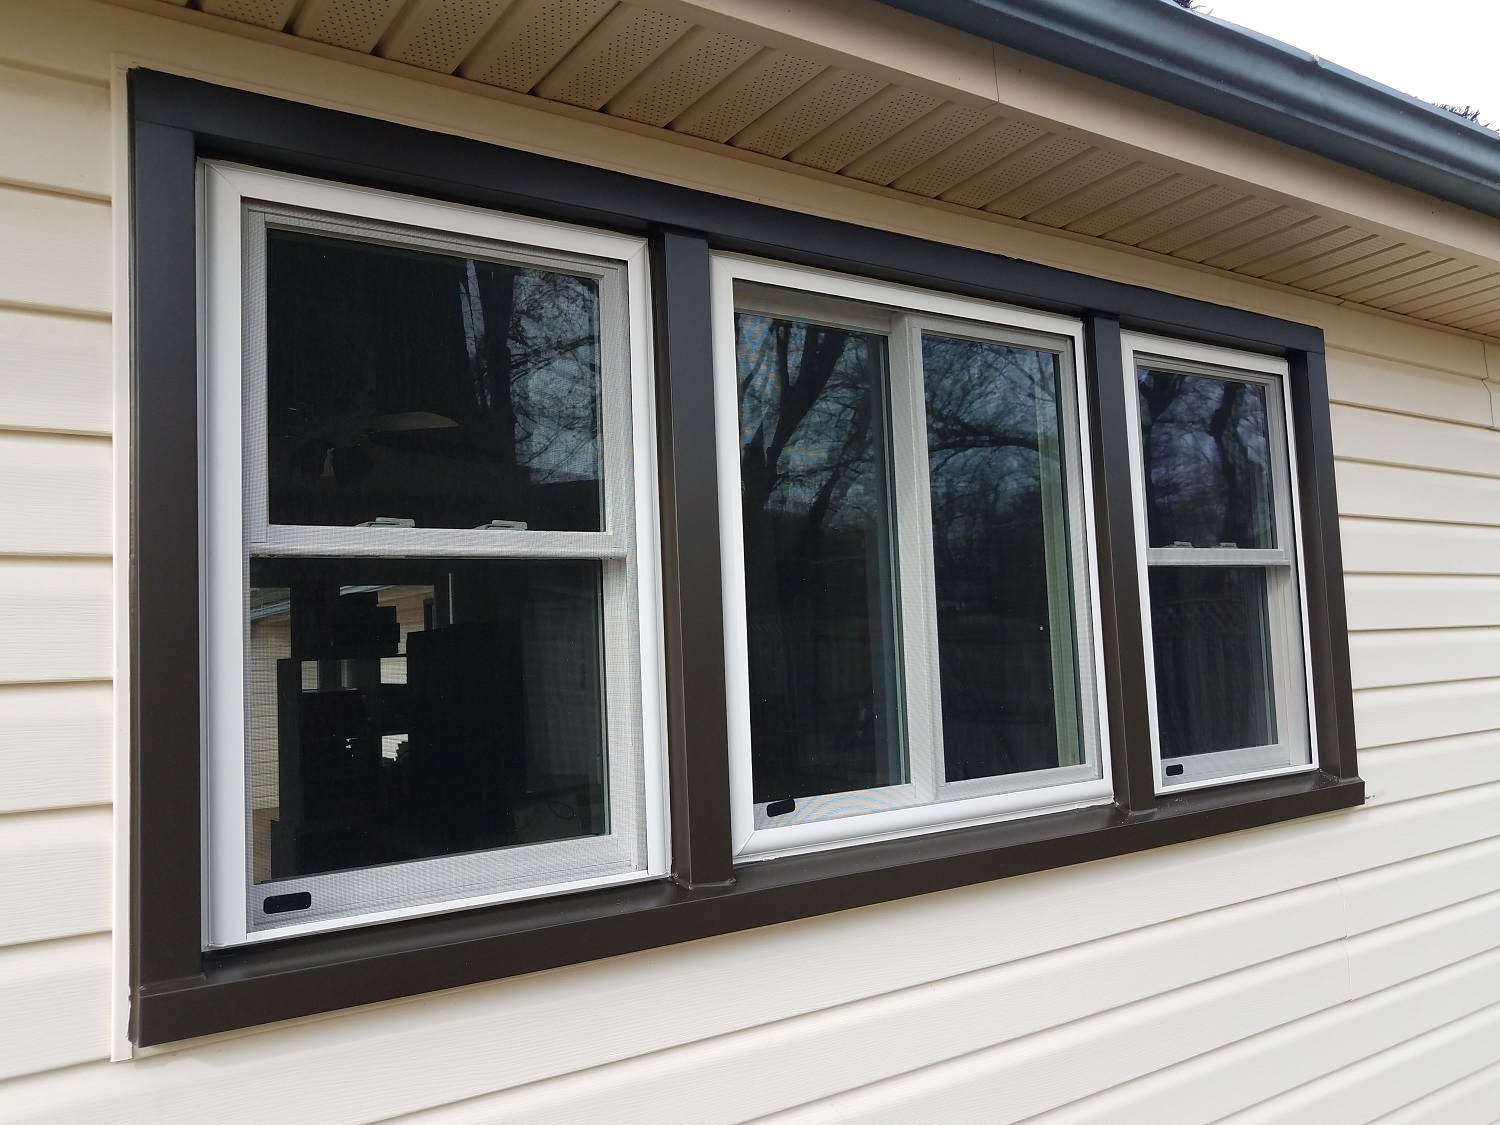
- Sliding windows: These windows slide horizontally to open and close. They are easy to use and require minimal maintenance.
- Bay windows project outward from the house and provide a panoramic view. They consist of three or more angled windows to create a curve.
- Picture windows: These windows are fixed and do not open. They provide a clear view and are great for letting in natural light.
When choosing a replacement window, it is important to consider factors such as energy efficiency, durability, and cost. It is also important to ensure that the replacement window fits the existing frame and is properly installed to prevent air leaks and water damage.
Tools Required for Window Replacement
Replacing a window without removing the siding requires a specific set of tools to ensure a successful installation. The following subsections outline the measuring, cutting, and installation tools necessary for a smooth window replacement.
Measuring Tools
Accurate measurements are crucial for a proper window replacement. The following measuring tools are essential for the job:
- Tape Measure: A tape measure is used to measure the height and width of the window opening accurately.
- Level: A level is used to ensure that the window frame is installed straight and level.
- Square: A square is used to check the corners of the window frame to ensure they are square.
Cutting Tools
Cutting tools are required to remove the old window and prepare the opening for the new window. The following cutting tools are necessary for the job:
- Utility Knife: A utility knife is used to cut through the caulking and sealant around the old window.
- Reciprocating Saw: A reciprocating saw is used to cut through the nails that hold the old window frame in place.
- Jigsaw: A jigsaw is used to cut any necessary trim or framing to fit the new window.
Installation Tools
The following tools are necessary for the installation of the new window:
- Screwdriver: A screwdriver is used to attach the new window frame to the opening.
- Hammer: A hammer is used to secure any nails or screws that hold the new window frame in place.
- Caulking Gun: A caulking gun is used to apply sealant around the new window frame to prevent air and water leaks.
By having the proper measuring, cutting, and installation tools, replacing a window without removing the siding can be a straightforward and successful DIY project.
Assessing the Window and Siding

Before starting the window replacement process, it’s essential to assess the window and siding to ensure that the job can be done without removing the siding. Here are some key factors to consider:
Window Condition: Check the window frame and glass for damage or wear and tear that could impact the replacement process. If the window is in poor condition, it may be necessary to remove the siding to replace it.
Siding Material: Determine the type of siding material used in the construction of the house. Vinyl, wood, and fiber cement are common siding materials that can be replaced without removing the siding. However, brick, stucco, and stone siding may require removal to replace the window.
Window Size: Measure the window size to ensure that the replacement window fits within the existing frame. If the new window is too large, it may be necessary to remove the siding to enlarge the window opening.
Flashing and Sealing: Check the flashing and sealing around the existing window to ensure that it’s in good condition. If the flashing and sealing are damaged, it may be necessary to remove the siding to repair or replace them.
By assessing these factors, homeowners can determine whether they can replace their window without removing the siding. If any of these factors are not in good condition, it may be necessary to remove the siding to complete the replacement process.
Removing the Old Window
Before installing a new window without removing the siding, it’s necessary to remove the old window first. Here are the steps to follow:
- Remove the window trim: The window trim is the decorative piece of wood that surrounds the window. Use a pry bar to gently remove the trim without damaging it. Set the trim aside for later use.
- Cut the caulking: Use a utility knife to cut the caulking around the window. This will help to loosen the window from the frame.
- Remove the screws: Locate the screws that are holding the window in place and remove them. Be sure to save the screws for later use.
- Remove the old window: With the screws removed, gently push the window out of the frame. Be sure to have someone assist you with this step if the window is heavy.
Once the old window has been removed, it’s time to prepare for the installation of the new window.
Preparing the Window Opening

Before replacing a window without removing the siding, there are a few steps that need to be taken to prepare the window opening. These steps are crucial to ensure a successful installation and prevent any damage to the siding or window frame.
- Remove the Window Sash: The first step is to remove the window sash from the existing window frame. This can be done by opening the window and removing any screws or hardware that are holding the sash in place. Once the sash is removed, set it aside in a safe place.
- Inspect the Window Frame: With the sash removed, inspect the window frame for any damage or rot. If there is any damage, it should be repaired before proceeding with the installation.
- Measure the Window Opening: Measure the height and width of the window opening to ensure that the new window will fit properly. It is important to measure accurately to avoid any gaps or unevenness.
- Install the Window Flashing: Before installing the new window, it is important to install window flashing around the opening. Flashing helps to prevent water from getting behind the siding and causing damage.
- Apply Sealant: Apply a bead of sealant around the perimeter of the window opening. This will help to create a watertight seal and prevent any air leaks.
By following these steps, the window opening will be properly prepared for the installation of a new window without removing the siding. It is important to take the time to properly prepare the opening to ensure a successful installation and prevent any damage to the siding or window frame.
Installing the New Window
Once the old window has been removed, it’s time to install the new one. Here are the steps to follow:
- Measure the opening: Measure the height and width of the opening to ensure that the new window will fit properly. It’s important to measure the opening at the top, middle, and bottom to account for any irregularities in the frame.
- Install the sill flashing: Cut a piece of sill flashing to fit the width of the opening and attach it to the bottom of the frame with screws. The flashing should extend out beyond the edges of the frame to prevent water from seeping in.
- Insert the window: Apply a bead of caulk around the perimeter of the opening and carefully insert the window into place. Make sure the window is level and plumb before securing it in place.
- Secure the window: Use screws to secure the window to the frame. Start at the bottom corners and work your way up, making sure the window remains level and plumb.
- Install the trim: Cut and install the interior and exterior trim pieces to cover any gaps between the window and the frame. Use caulk to seal any remaining gaps.
By following these steps, you can successfully install a new window without removing the siding.
Ensuring Proper Fit
When replacing a window without removing the siding, ensuring a proper fit is crucial to prevent air leaks and water infiltration. Here are a few tips to help you achieve a perfect fit:
- Measure twice, cut once: Before you order your replacement window, make sure you measure the opening accurately. Measure the width and height of the opening at three different points to ensure it is square. Then, subtract 1/4 inch from the smallest measurement to get the actual size of the window you need to order.
- Check the rough opening: Once you have your replacement window, check the rough opening to make sure it’s clean and free of any debris. If there are any gaps or rough spots, use a hammer and chisel to smooth them out.
- Use shims: Shims are thin pieces of wood or plastic that help level the window in the opening. Place shims at the bottom of the opening and adjust them until the window is level. Then, place shims on either side of the window and adjust them until the window is plumb. Finally, place shims at the top of the opening and adjust them until the window is square.
- Secure the window: Once the window is level, plumb, and square, secure it in place with screws. Start at the bottom and work your way up, placing screws every 6 inches along the sides and top of the window. Be careful not to over-tighten the screws, as this can cause the window frame to warp.
By following these tips, you can ensure a proper fit for your replacement window and avoid any potential problems down the road.
Sealing and Insulating the Window
After successfully installing the new window, the next step is to properly seal and insulate it. This will help to prevent air leaks, water infiltration, and improve energy efficiency.
First, apply a generous amount of caulking around the perimeter of the window frame. Use a caulking gun to ensure an even and consistent application. Be sure to fill any gaps or cracks to prevent air and water from seeping in.
Next, install weatherstripping around the window sash to create a tight seal when the window is closed. This modification will aid in blocking drafts and enhancing energy efficiency.
To further improve insulation, apply spray foam insulation around the window frame. This will fill any gaps or spaces and provide an additional insulation layer.
Finally, install window film to reduce heat loss and gain. This can be especially helpful in colder climates where energy costs can be high.
Homeowners can enjoy a more comfortable and energy-efficient home by properly sealing and insulating the windows.
Final Touches and Cleaning Up
Once the window is securely in place, it’s time to add the finishing touches and clean up the work area. Here are a few tips to help ensure a smooth and professional-looking installation:
- Seal any gaps: Use a high-quality caulk to seal any gaps between the window frame and the siding. This will help prevent drafts and water from entering the home. Be sure to follow the manufacturer’s instructions for best results.
- Trim the exterior: If necessary, trim any excess siding or flashing with a utility knife or tin snips. This will help create a clean and neat appearance around the window.
- Clean the window: Use a soft cloth and a mild cleaner to clean the window and remove any smudges or fingerprints. Avoid using abrasive cleaners or tools that could scratch the glass.
- Dispose of waste: Properly dispose of any waste materials, such as old window frames or packaging, according to local regulations. This will help keep the work area clean and safe.
By following these final touches and cleaning up tips, homeowners can ensure a successful window replacement project without removing the siding.
Conclusion
In conclusion, replacing a window without removing the siding is a feasible and often preferred approach for many homeowners. This step-by-step guide aims to provide you with a clear understanding of the process, helping you to manage your window replacement project with confidence and efficiency.
However, we understand that each home and window scenario can present unique challenges. If you find yourself needing professional assistance or advice, remember that we at Rhino Oakland Window Replacement & Siding are here to help. Our team of experienced professionals is well-versed in various window replacement techniques, including those that preserve your existing siding.
Whether you’re looking for a consultation, a second opinion, or a full-service solution, feel free to reach out to us. We are committed to ensuring your window replacement journey is smooth, successful, and aligned with your home’s aesthetic and functional needs.